

ISSUE#:
Black bars appear on the four sides of the display of PD1560, and the picture couldn’t be displayed full-screen on PD1560.
REASON:
The resolution of your computer monitor is lower than 1920*1080.
The resolution of PD1560 is 1920*1080. When the resolution of your computer monitor is lower than that of PD1560, this issue, black borders on the four sides, might happen under Duplicate Mode ( Windows) or Mirroring Mode (macOS).
SOLUTION: We recommend you to use Extended Mode to draw when meeting this issue. Here is the correct way to set Extended Mode under Windows system (for macOS: please check here). Before that, you should know two definitions.
Two definitions you should know:
- Work Area: this is the active range of the cursor when using the stylus to draw on PD1560.
- Select Current Display: this is the work display that the cursor is moving on when using the stylus to draw on PD1560.
Solutions:
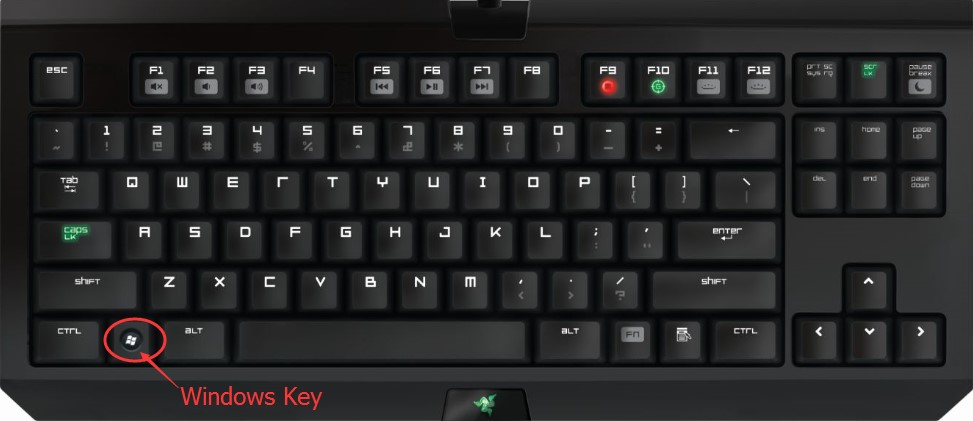
- Simultaneously press the ‘window’ + ‘P’ key on your keyboard.
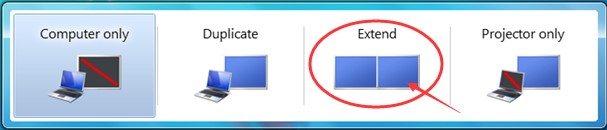
- Choose Extend mode.
- Go ‘Start’
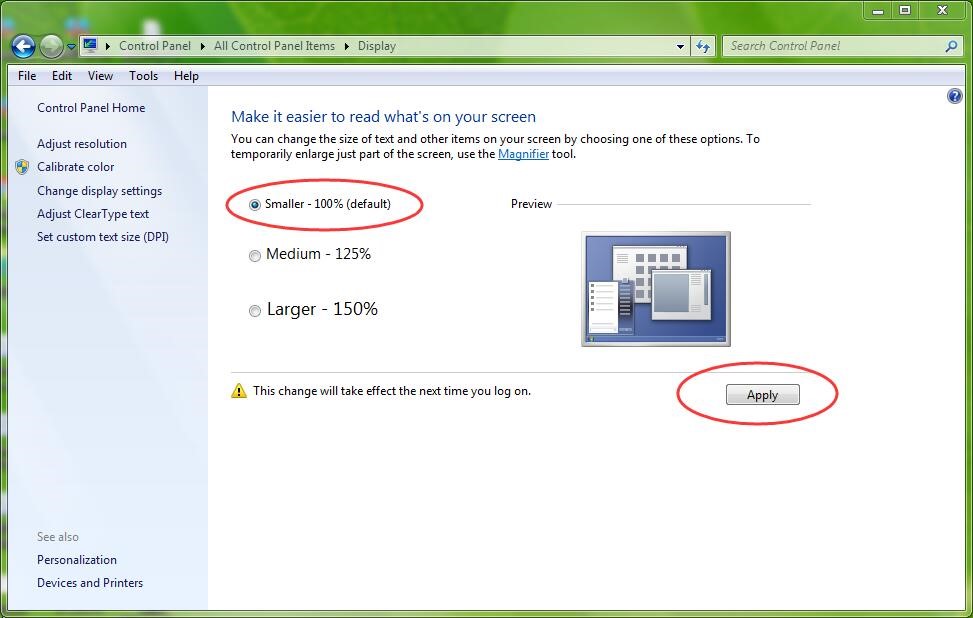
 –> Control Panel–>search ‘screen’ –> select ‘Make text and other items larger or smaller’

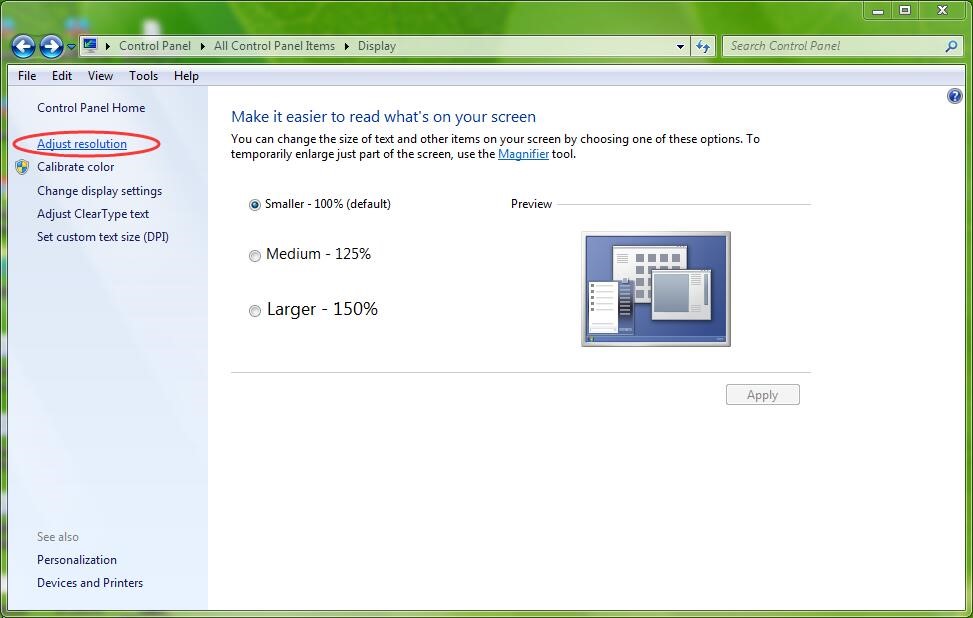
- Tick ‘Smaller-100%’ and ‘Apply’.
- Click ‘Adjust resolution’ to set the resolution of GAOMON PD1560 in the computer Control Panel
- Set the item ‘Display’ as ‘PD1560’, set the item ‘Resolution’ as 1920*1080 and click ‘Apply’ to save the changes.
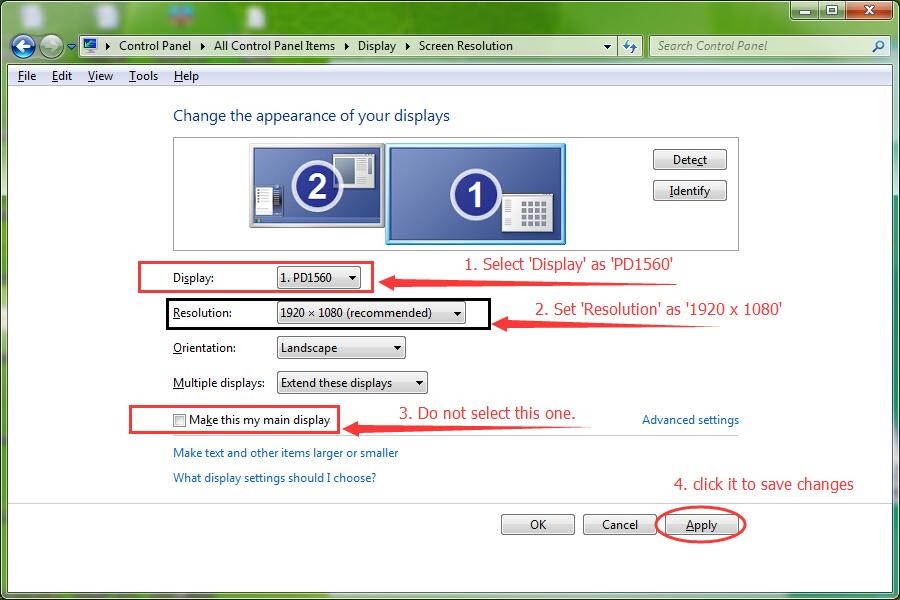
Do not tick ‘Make this my main display’.
Note! Before click ‘Apply’, we didn’t tick ‘Make this my main display’, so your main display is still the computer monitor. Your main display will be GAOMON PD1560 if you ticked this option. This is important in the later steps to recognize which one is GAOMON display.
- Open the GAOMON Driver interface and click “Work Area”
- Click the drop-down menu of ‘Select Current Display’. There are three elements: Display 1, Display2, and All Display.
- By previous steps, we’ve set the resolution of PD1560 as 1920 x 1080. So here, Display 2 is the display of PD1560 while Display 1 is the computer monitor.
- Here we should ‘Select Current Display’ as the display of PD1560, not the computer monitor.
- Select the item ‘Select Current Display’ as ‘PD1560 display’ and click ‘Apply’.
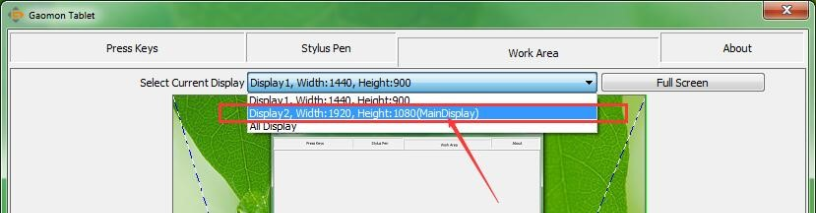
For example, here in this picture, Display 1, the Main Display with Width1440, Height 900 is the computer monitor, because in the previous step when we set the resolution of the PD1560 display, we didn’t tick ‘Make this my main display’. So the main display is still your computer monitor. And Display 2, with Width 1920, Height 1080, is the GAOMON PD1560 display. So here selects ‘Display 2’ as ‘Current Display’.
About Donation Plan and Discount of PD1560 :
Related Posts:
Black Bars on the Four Sides of PD1560 — macOS
More question, please feel free to contact us here: GAOMON SUPPORT TEAM.
Leave a Reply